Introduction: Don’t Let Good Weed Go to Waste
Let’s face it—sometimes you just don’t feel like finishing an entire joint. Maybe you’re trying to keep your tolerance low, or maybe you just needed a quick puff and you’re good. Whatever the reason, knowing how to put your joint out properly can save you cannabis, money, and frustration.
If you stub it out too hard, you might crush the cherry and damage the airflow. Let it burn too long, and you’re wasting your weed. Throw it in your pocket without care? Say hello to a smelly mess.
In this guide, we’ll walk you through everything you need to know about how to put your joint out for later — safely, cleanly, and without ruining your next smoke session.
Why Knowing How to Put Your Joint Out Matters
Putting your joint out might seem like a no-brainer, but doing it the right way has a few key benefits:
- Preserves flavor: Harsh extinguishing can cause unpleasant tastes when relighting.
- Prevents waste: Properly extinguished joints don’t keep burning.
- Keeps things clean: Avoids ash, smell, and mess in your pocket or bag.
- Enhances your experience: A well-preserved joint means a better future session.
So let’s break down the right ways to do it — and what you should avoid.
How to Put Your Joint Out Without Ruining It
1. Tap It Gently on a Hard Surface
This is one of the easiest and most effective methods.
How it works:
Gently tap the lit end of your joint against a heat-proof surface (like an ashtray or the rim of a glass). The goal is to knock off the cherry (the glowing ember) without crushing the joint.
Why it works:
It stops the combustion process without damaging the joint’s structure.
Pro Tip:
Do not stub it out like a cigarette — this will crush the tip, making it harder to relight and ruining airflow.
2. Let It Burn Out Naturally
If you’re indoors or in a controlled space, another low-impact option is to just let your joint go out on its own.
How it works:
Place the joint in an ashtray or doob tube and let it sit. It’ll go out within 30–60 seconds as long as you’re not actively pulling air through it.
Why it works:
This is the gentlest method, ensuring no physical damage and minimal odor.
Pro Tip:
Make sure it’s not near anything flammable. Letting a joint burn out on fabric or paper is a fire hazard.
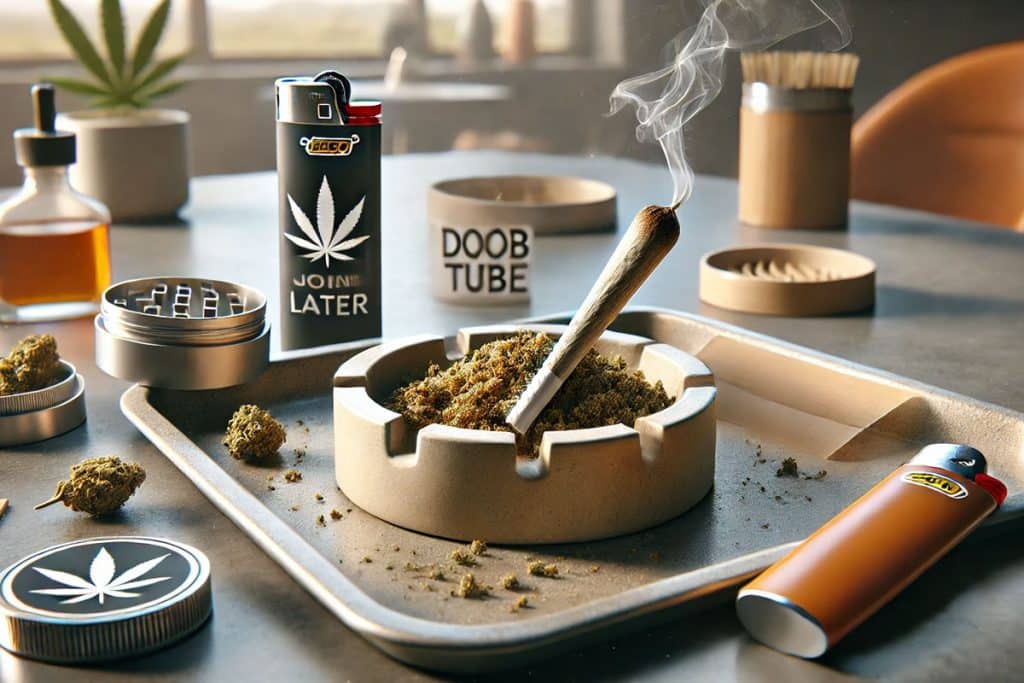
3. Use a Joint Holder or Doob Tube
If you’re on the go, a joint holder or doob tube is your best friend.
How it works:
After gently tapping off the cherry, slide your joint into the airtight container. The lack of oxygen will extinguish any remaining embers.
Why it works:
Quick, clean, and smell-proof. Doob tubes are especially useful if you plan to relight your joint later the same day.
Pro Tip:
Make sure the container is heat-resistant and sealable. Plastic can melt or absorb odors if used too early.
4. Use a Cigarette Snuffer or Roach Clip Extinguisher
Yes, these exist for joints too.
How it works:
Place the lit end into the snuffer. The lack of oxygen kills the ember almost instantly.
Why it works:
Provides a fast, reusable, mess-free way to extinguish your joint.
Pro Tip:
These are great accessories for frequent smokers who want to conserve their joints without the hassle.
What NOT to Do When Putting Your Joint Out
Mistakes happen, but here are a few things you should avoid at all costs:
❌ Do Not Crush the Tip
This is the most common mistake. Smashing your joint like a cigarette ruins the filter and makes it difficult to relight. You’ll also end up inhaling ash and burnt paper.
❌ Do Not Use Water
Never dip your joint in water to put it out — unless you want to throw it away. Wet joints don’t relight well, and the moisture can degrade the cannabis inside.
❌ Do Not Leave It Burning in Open Air
It’s wasteful and dangerous. Joints will continue burning slowly even if you’re not smoking them. If left unchecked, it can cause a fire or burn through half your weed.
❌ Don’t Put It in Your Pocket Lit
Even if it seems out, embers can smolder inside the joint. Always make sure it’s fully extinguished before pocketing or storing.
How to Store a Half-Smoked Joint for Later
Putting your joint out is just the first step. Now let’s talk about storing it properly so it stays fresh, clean, and ready to relight.
Best Storage Options:
- Doob Tube – Airtight, smell-proof, and portable.
- Glass Tube with Cork or Cap – Preserves flavor and keeps out moisture.
- Metal Joint Case – Durable and good for travel.
- Mason Jar – Ideal for longer-term storage at home.
Avoid These Storage Mistakes:
- Storing in plastic bags (they crush easily and hold odor)
- Leaving joints in hot cars or direct sunlight (can dry out or degrade your weed)
- Keeping half-smoked joints next to fresh ones (the ash and smell will transfer)
How to Relight Your Joint the Right Way
So you’ve put it out and stored it like a pro. Now it’s time to relight. But there’s an art to that, too.
Steps to Relight a Joint:
- Inspect the tip – Knock off any excess ash or burnt material.
- Toast the end – Hold your lighter a few inches away and rotate the joint to warm the end evenly.
- Take a few light puffs – Don’t inhale deeply right away. Let it reheat and reignite evenly.
- Adjust your draw – If airflow seems blocked, gently roll the joint between your fingers to loosen it up.
Pro Tip:
Relit joints may taste a little harsher due to the burned material. Some people prefer to snip the burnt end off before relighting for a smoother experience.
Bonus: Tools That Make It Easier to Put Your Joint Out
If you’re a regular smoker, investing in a few tools can make extinguishing and saving your joints a breeze.
Recommended Tools:
- Doob Tubes – Must-have for odor control and travel.
- Joint Snuffers – Fast and clean way to extinguish without damage.
- Ashtrays with Built-in Holders – Keep your joint upright while it cools.
- Rolling Trays with Rests – Prevents joints from rolling or getting crushed.
These small accessories not only make your sessions smoother but also help you get more out of your cannabis without waste.
Conclusion: Mastering the Art of How to Put Your Joint Out
Knowing how to put your joint out the right way is a small but powerful part of being a smart cannabis consumer. It saves you product, preserves flavor, and keeps your gear clean.
Whether you’re a casual toker or a seasoned smoker, mastering this simple skill improves every session. All it takes is a little mindfulness and the right tools.
So next time you light up and decide you’re done for now — don’t stub, don’t soak, don’t waste. Tap, store, and come back later for a smoother, better burn.